Versionen im Vergleich

Schlüssel

  • Diese Zeile wurde hinzugefügt.
  • Diese Zeile wurde entfernt.
  • Formatierung wurde geändert.
Sv translation
languagede

Meldungsregeln legen fest, unter welchen Umständen Meldungen in QBRX erzeugt werden.

In diesem Beitrag zeigen wir Ihnen exemplarisch anhand von zwei Beispielen, wie Meldungsregeln erstellt werden können.

Info
titleHilfreiche Beiträge

In den Beiträgen "Einführung in QUDE" und "Blöcke in QUDE und deren Funktionen" haben Sie bereits erfahren, wofür wir QUDE in QBRX nutzen und welche Möglichkeiten Sie haben, um das Optimum aus dem Tool rauszuholen.

Was Meldungsregeln sind, wofür sie benötigt werden und wie man neue anlegt, erfahren Sie hier.


Beispiel 1: Die Außentemperatur entspricht 0°C oder weniger

Im ersten Beispiel erstellen wir eine Meldungsregel, die dafür sorgt, dass immer dann eine Meldung generiert wird wenn die Außentemperatur 0°C oder weniger entspricht.

Der Gefrierpunkt ist in vielen Situationen ein relevanter Faktor. 


Schritt-für-Schritt Anleitung

  1. Fügen Sie den Datenpunkt "Außentemperatur" der Liste auswählbarer Datenpunkte hinzu

    • Wählen Sie den Datenpunkt, den Sie in Ihre Auswertung einbinden möchten. 


  2. Ziehen Sie die Blöcke in die Arbeitsfläche

    • Benötigte Blöcke: Jeweils ein Block für das Ergebnis, für numerische Datenpunkte, für Konstanten und für Vergleichsoperatoren


  3. Ordnen Sie den Datenpunkt dem passenden Block zu

  4. Definieren Sie die Berechnungsregel

    • Verbinden Sie die Außentemperatur mit dem linken freien Feld des Vergleichsoperators und die Konstante mit dem rechten Feld. Als Vergleichsoperator legen Sie fest. Verbinden Sie den gesamten Block mit dem Ergebnis.

    • Jetzt wird immer dann eine Meldung generiert, wenn die Außentemperatur 0°C oder weniger entspricht. 


  5. Speichern Sie Ihre Einstellungen


Beispiel 2: Die Lüftungsanlage ist außerhalb der Öffnungszeiten eingeschaltet

Im zweiten Beispiel soll immer dann eine Meldung erzeugt werden, wenn die Lüftungsanlage eingeschaltet ist, obwohl die zugehörige Filiale gechlossen ist. 

Die Meldungsregel kann dabei helfen, Störungen an der Anlage ausfindig zu machen. Der Datenpunkt, der den Aktivitätsstatus wiedergibt, kann außerdem mit einer Vielzahl an anderen Datenpunkten ausgetauscht werden, falls man eine Warnung bezüglich anderer zeitabhängiger Annomalien erhalten möchte.


Sv translation
languageen

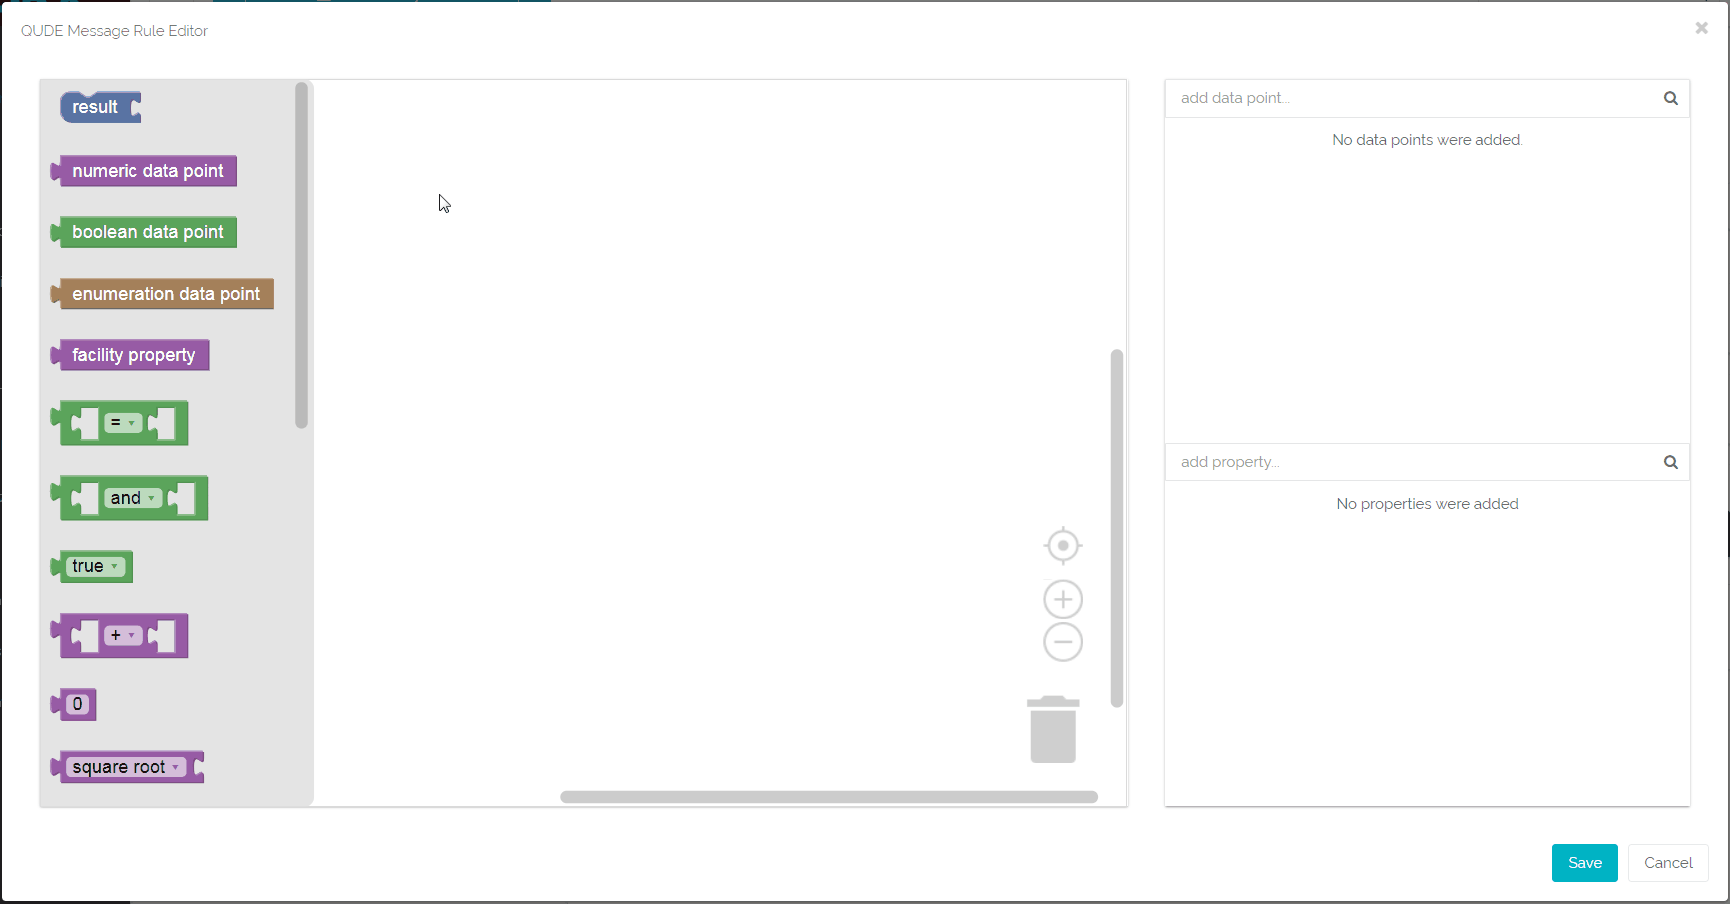
Message rules define, if and when messages are generated. 

You can describe those rules with the help of QUDE (QBRX universal data point editor) QUDE is a versatile tool for the creation of various evaluation rules. There are almost no restriction for the creation of new rules.

In this article, we'll be talking about the creation of a new message rule in QUDE. As an example, we define a rule that warns us, once the outside temperature of your facility is 0°C (32°F) or below.


Opening QUDE

Before working with QUDE, you have to open the tool. Go to the message board of your designated facility and select the gear wheel-button on the right side. You are send to the message rule board. Create a new message rule by clicking on the plus-button and/or choose a message rule and click on the puzzle-button.

Example 1: simple message rules without conditions

For this example, we create a message rule that generates a new message whenever the outdoor temperature of your facility is 0°C (32°F) or below. The freezing point is relevant for various situations and the evaluation rule only consists of a few bricks. 

 You'll need four bricks: one evaluation, one for comparisons, one for numeric data points and a constant.

  1. Drag bricks into the editing field 
    • Drag all of the mentioned bricks to the editing field in QUDE. 
  2. Combine bricks
    • Combine the bricks until they look like the picture below.

  3. Search, choose and select a numeric data point
    • Next to the editing field, you can search data points in the upper search bar. For our example, we'll be looking for "outdoor temperature". You can only find data points that belong to your chosen facility and its sub-facilities. 
    • Select the right data point. It's now displayed below the search bar and can be used in bricks. 
    • In the brick for numeric data points, you can now choose "outdoor temperature" instead of "undefined".
  4. Choose the constant
    • In this case, the constant stands for the temperature. That's why we define it as "0" for "0°C (or 32 for 32°F).
  5. Choose a comparison
    • Change the sign for "=" to "≤" simply be clicking on it and selecting the right symbol.
  6. Save your settings
    • Select "Save" in the lower right corner to save your changes. 

From now on, a message is generated whenever the outdoor temperature reaches 0°C and decreases further on.

You can change these settings anytime. 


Example 2: message rules with conditions

Now, we create similar message rules for the same example. However, this time we'll be using more parameters and a condintion brick. The new parameters are "true" and "false" for rule 1 and "1" and "2" for rule 2. We use them to define even more accurately if a certain situation occured. "1" and "true" always confirm such an occurence and trigger the creation of a fitting message. "0" and "false" confirm, that nothing predefined occured and therefore won't trigger a message.

 You'll need six bricksfor both rules: two result bricks, one brick for conitions with exceptions, one for comparisons, one for numeric data points and a constant.

  1. Drag bricks into the editing field 
    • Drag all of the mentioned bricks to the editing field in QUDE. 
  2. Combine bricks
    • Combine the bricks until they look like the picture below.

  3. Search, choose and select a numeric data point
    • Next to the editing field, you can search data points in the upper search bar. For our example, we'll be looking for "outdoor temperature". You can only find data points that belong to your chosen facility and its sub-facilities. 
    • Select the right data point. It's now displayed below the search bar and can be used in bricks. 
    • In the brick for numeric data points, you can now choose "outdoor temperature" instead of "undefined".
  4. Choose the constant
    • In this case, the constant stands for the temperature. That's why we define it as "0" for "0°C (or 32 for 32°F).
  5. Choose a comparison
    • Change the sign for "=" to "≤" simply be clicking on it and selecting the right symbol.
  6. Add further parameters and connect them
    • You need two "true"-bricks for rule 1. Connect them to the result bricks. Select "false" for the brick, that is connectted to "else".
    • You need two bricks for variables for rule 2. Connect them to the result bricks. Select "1" for the brick, that is connectted to "do".

Select "Save" in the lower right corner to save your changes. 

From now on, a message is generated whenever the outdoor temperature reaches 0°C and decreases further on.

You can change these settings anytime.